실제로 자신의 도구로 무언가를 만들어보는 것만큼 개선점을 찾는 데 좋은 방법은 없습니다.
지난 몇 달 동안 Catalyst를 작업하면서, Headless UI에 수십 가지 개선 사항을 적용하여 더 적은 코드를 작성하고 개발자 경험을 더욱 향상시켰습니다.
이 모든 작업의 결과물로 React용 Headless UI v2.0을 출시했습니다.
주요 새로운 기능은 다음과 같습니다:
@headlessui/react의 최신 버전을 npm에서 설치하여 프로젝트에 추가하세요:
npm install @headlessui/react@latestv1.x에서 업그레이드하는 경우, 변경 사항에 대해 자세히 알아보려면 업그레이드 가이드를 확인하세요.
내장된 앵커 포지셔닝
Headless UI에 Floating UI를 직접 통합했기 때문에, 드롭다운이 화면 밖으로 나가거나 다른 요소에 가려지는 걱정은 이제 하지 않아도 됩니다.
Menu, Popover, Combobox, Listbox 컴포넌트에서 새로운 anchor prop을 사용해 앵커 포지셔닝을 지정할 수 있습니다. 그리고 --anchor-gap 및 --anchor-padding 같은 CSS 변수를 사용해 위치를 세밀하게 조정할 수 있습니다:
스크롤을 위아래로 움직여 드롭다운 위치가 어떻게 변하는지 확인하세요
import { Menu, MenuButton, MenuItem, MenuItems } from "@headlessui/react";function Example() { return ( <Menu> <MenuButton>Options</MenuButton> <MenuItems anchor="bottom start" className="[--anchor-gap:8px] [--anchor-padding:8px]" > <MenuItem> <button>Edit</button> </MenuItem> <MenuItem> <button>Duplicate</button> </MenuItem> <hr /> <MenuItem> <button>Archive</button> </MenuItem> <MenuItem> <button>Delete</button> </MenuItem> </MenuItems> </Menu> );}이 API의 장점은 sm:[--anchor-gap:4px]와 같은 유틸리티 클래스를 사용해 CSS 변수를 변경함으로써 다른 브레이크포인트에서 스타일을 조정할 수 있다는 점입니다.
자세한 내용은 각 컴포넌트의 앵커 포지셔닝 문서를 참고하세요.
새로운 체크박스 컴포넌트
기존의 RadioGroup 컴포넌트를 보완하기 위해 새로운 헤드리스 Checkbox 컴포넌트를 추가했습니다. 이를 통해 완전히 커스텀한 체크박스 컨트롤을 쉽게 구축할 수 있습니다:
This will give you early access to any awesome new features we're developing.
import { Checkbox, Description, Field, Label } from "@headlessui/react";import { CheckmarkIcon } from "./icons/checkmark";import clsx from "clsx";function Example() { return ( <Field> <Checkbox defaultChecked className={clsx( "size-4 rounded border bg-white dark:bg-white/5", "data-[checked]:border-transparent data-[checked]:bg-blue-500", "focus:outline-none data-[focus]:outline-2 data-[focus]:outline-offset-2 data-[focus]:outline-blue-500", )} > <CheckmarkIcon className="stroke-white opacity-0 group-data-[checked]:opacity-100" /> </Checkbox> <div> <Label>베타 기능 활성화</Label> <Description>이 옵션을 활성화하면 개발 중인 멋진 새 기능을 조기에 이용할 수 있습니다.</Description> </div> </Field> );}체크박스는 제어되거나 제어되지 않을 수 있으며, HTML 폼과 잘 작동하도록 숨겨진 입력과 상태를 자동으로 동기화할 수 있습니다.
자세한 내용은 체크박스 문서를 참고하세요.
HTML 폼 컴포넌트
기본 폼 컨트롤을 감싸는 새로운 컴포넌트 세트를 추가했습니다. 이 컴포넌트들은 ID와 aria-* 속성을 자동으로 연결하는 번거로운 작업을 대신 처리해 줍니다.
이전에는 <input> 필드와 올바르게 연결된 <label> 및 설명을 작성하려면 다음과 같이 해야 했습니다:
<div> <label id="name-label" for="name-input"> Name </label> <input id="name-input" aria-labelledby="name-label" aria-describedby="name-description" /> <p id="name-description">Use your real name so people will recognize you.</p></div>이제 Headless UI v2.0의 새로운 컴포넌트를 사용하면 다음과 같이 간단하게 작성할 수 있습니다:
import { Description, Field, Input, Label } from "@headlessui/react";function Example() { return ( <Field> <Label>Name</Label> <Input name="your_name" /> <Description>Use your real name so people will recognize you.</Description> </Field> );}새로운 Field와 Fieldset 컴포넌트는 기본 <fieldset> 엘리먼트처럼 비활성화 상태를 캐스케이드합니다. 따라서 전체 컨트롤 그룹을 한 번에 쉽게 비활성화할 수 있습니다:
국가를 선택하면 지역 필드가 활성화됩니다
import { Button, Description, Field, Fieldset, Input, Label, Legend, Select } from "@headlessui/react";import { regions } from "./countries";export function Example() { const [country, setCountry] = useState(null); return ( <form action="/shipping"> <Fieldset> <Legend>Shipping details</Legend> <Field> <Label>Street address</Label> <Input name="address" /> </Field> <Field> <Label>Country</Label> <Description>We currently only ship to North America.</Description> <Select name="country" value={country} onChange={(event) => setCountry(event.target.value)}> <option></option> <option>Canada</option> <option>Mexico</option> <option>United States</option> </Select> </Field> <Field disabled={!country}> <Label className="data-[disabled]:opacity-40">State/province</Label> <Select name="region" className="data-[disabled]:opacity-50"> <option></option> {country && regions[country].map((region) => <option>{region}</option>)} </Select> </Field> <Button>Submit</Button> </Fieldset> </form> );}렌더링된 HTML에서 data-disabled 속성을 사용해 비활성화 상태를 노출합니다. 이렇게 하면 기본 disabled 속성을 지원하지 않는 <label> 엘리먼트와 같은 요소에서도 비활성화 상태를 쉽게 노출할 수 있습니다. 이를 통해 각 요소의 비활성화 스타일을 세밀하게 조정할 수 있습니다.
총 8개의 새로운 컴포넌트를 추가했습니다 — Fieldset, Legend, Field, Label, Description, Input, Select, 그리고 Textarea.
더 자세한 내용은 Fieldset 문서를 참고하세요.
향상된 호버, 포커스 및 액티브 상태 감지
Headless UI는 이제 React Aria 라이브러리의 훅을 기반으로 더 스마트한 data-* 상태 속성을 컨트롤에 추가합니다. 이 속성들은 기본 CSS 의사 클래스보다 다양한 기기에서 더 일관된 동작을 보여줍니다.
data-active—:active와 유사하지만, 요소에서 드래그를 멈추면 제거됩니다.data-hover—:hover와 유사하지만, 터치 기기에서는 스틱키 호버 상태를 방지하기 위해 무시됩니다.data-focus—:focus-visible와 유사하지만, 명령형 포커싱으로 인한 오탐지를 방지합니다.
Click, hover, focus, and drag the button to see the data attributes applied
이러한 스타일을 JavaScript로 적용하는 것이 왜 중요한지 더 알아보려면, Devon Govett의 훌륭한 블로그 시리즈를 읽어보는 것을 강력히 추천합니다.
웹은 정말 멋진 것을 만들기 위해 얼마나 많은 노력이 필요한지 항상 놀라게 합니다.
콤보박스 리스트 가상화
Headless UI에 TanStack Virtual을 통합하여 수십만 개의 항목을 콤보박스에 넣어야 할 때 리스트 가상화를 지원합니다. 왜냐하면, 보스가 그렇게 하라고 했기 때문이죠.
새로운 virtual prop을 사용하여 모든 항목을 전달하고, ComboboxOptions 렌더 prop을 사용하여 개별 옵션의 템플릿을 제공할 수 있습니다:
콤보박스를 열고 1,000개의 옵션을 스크롤해 보세요
import { Combobox, ComboboxButton, ComboboxInput, ComboboxOption, ComboboxOptions } from "@headlessui/react";import { ChevronDownIcon } from "@heroicons/react/20/solid";import { useState } from "react";const people = [ { id: 1, name: "Rossie Abernathy" }, { id: 2, name: "Juana Abshire" }, { id: 3, name: "Leonel Abshire" }, { id: 4, name: "Llewellyn Abshire" }, { id: 5, name: "Ramon Abshire" }, // ...최대 1,000명];function Example() { const [query, setQuery] = useState(""); const [selected, setSelected] = useState(people[0]); const filteredPeople = query === "" ? people : people.filter((person) => { return person.name.toLowerCase().includes(query.toLowerCase()); }); return ( <Combobox value={selected} virtual={{ options: filteredPeople }} onChange={(value) => setSelected(value)} onClose={() => setQuery("")} > <div> <ComboboxInput displayValue={(person) => person?.name} onChange={(event) => setQuery(event.target.value)} /> <ComboboxButton> <ChevronDownIcon /> </ComboboxButton> </div> <ComboboxOptions> {({ option: person }) => ( <ComboboxOption key={person.id} value={person}> {person.name} </ComboboxOption> )} </ComboboxOptions> </Combobox> );}새로운 가상 스크롤링 문서를 확인하여 더 알아보세요.
새로운 웹사이트와 개선된 문서
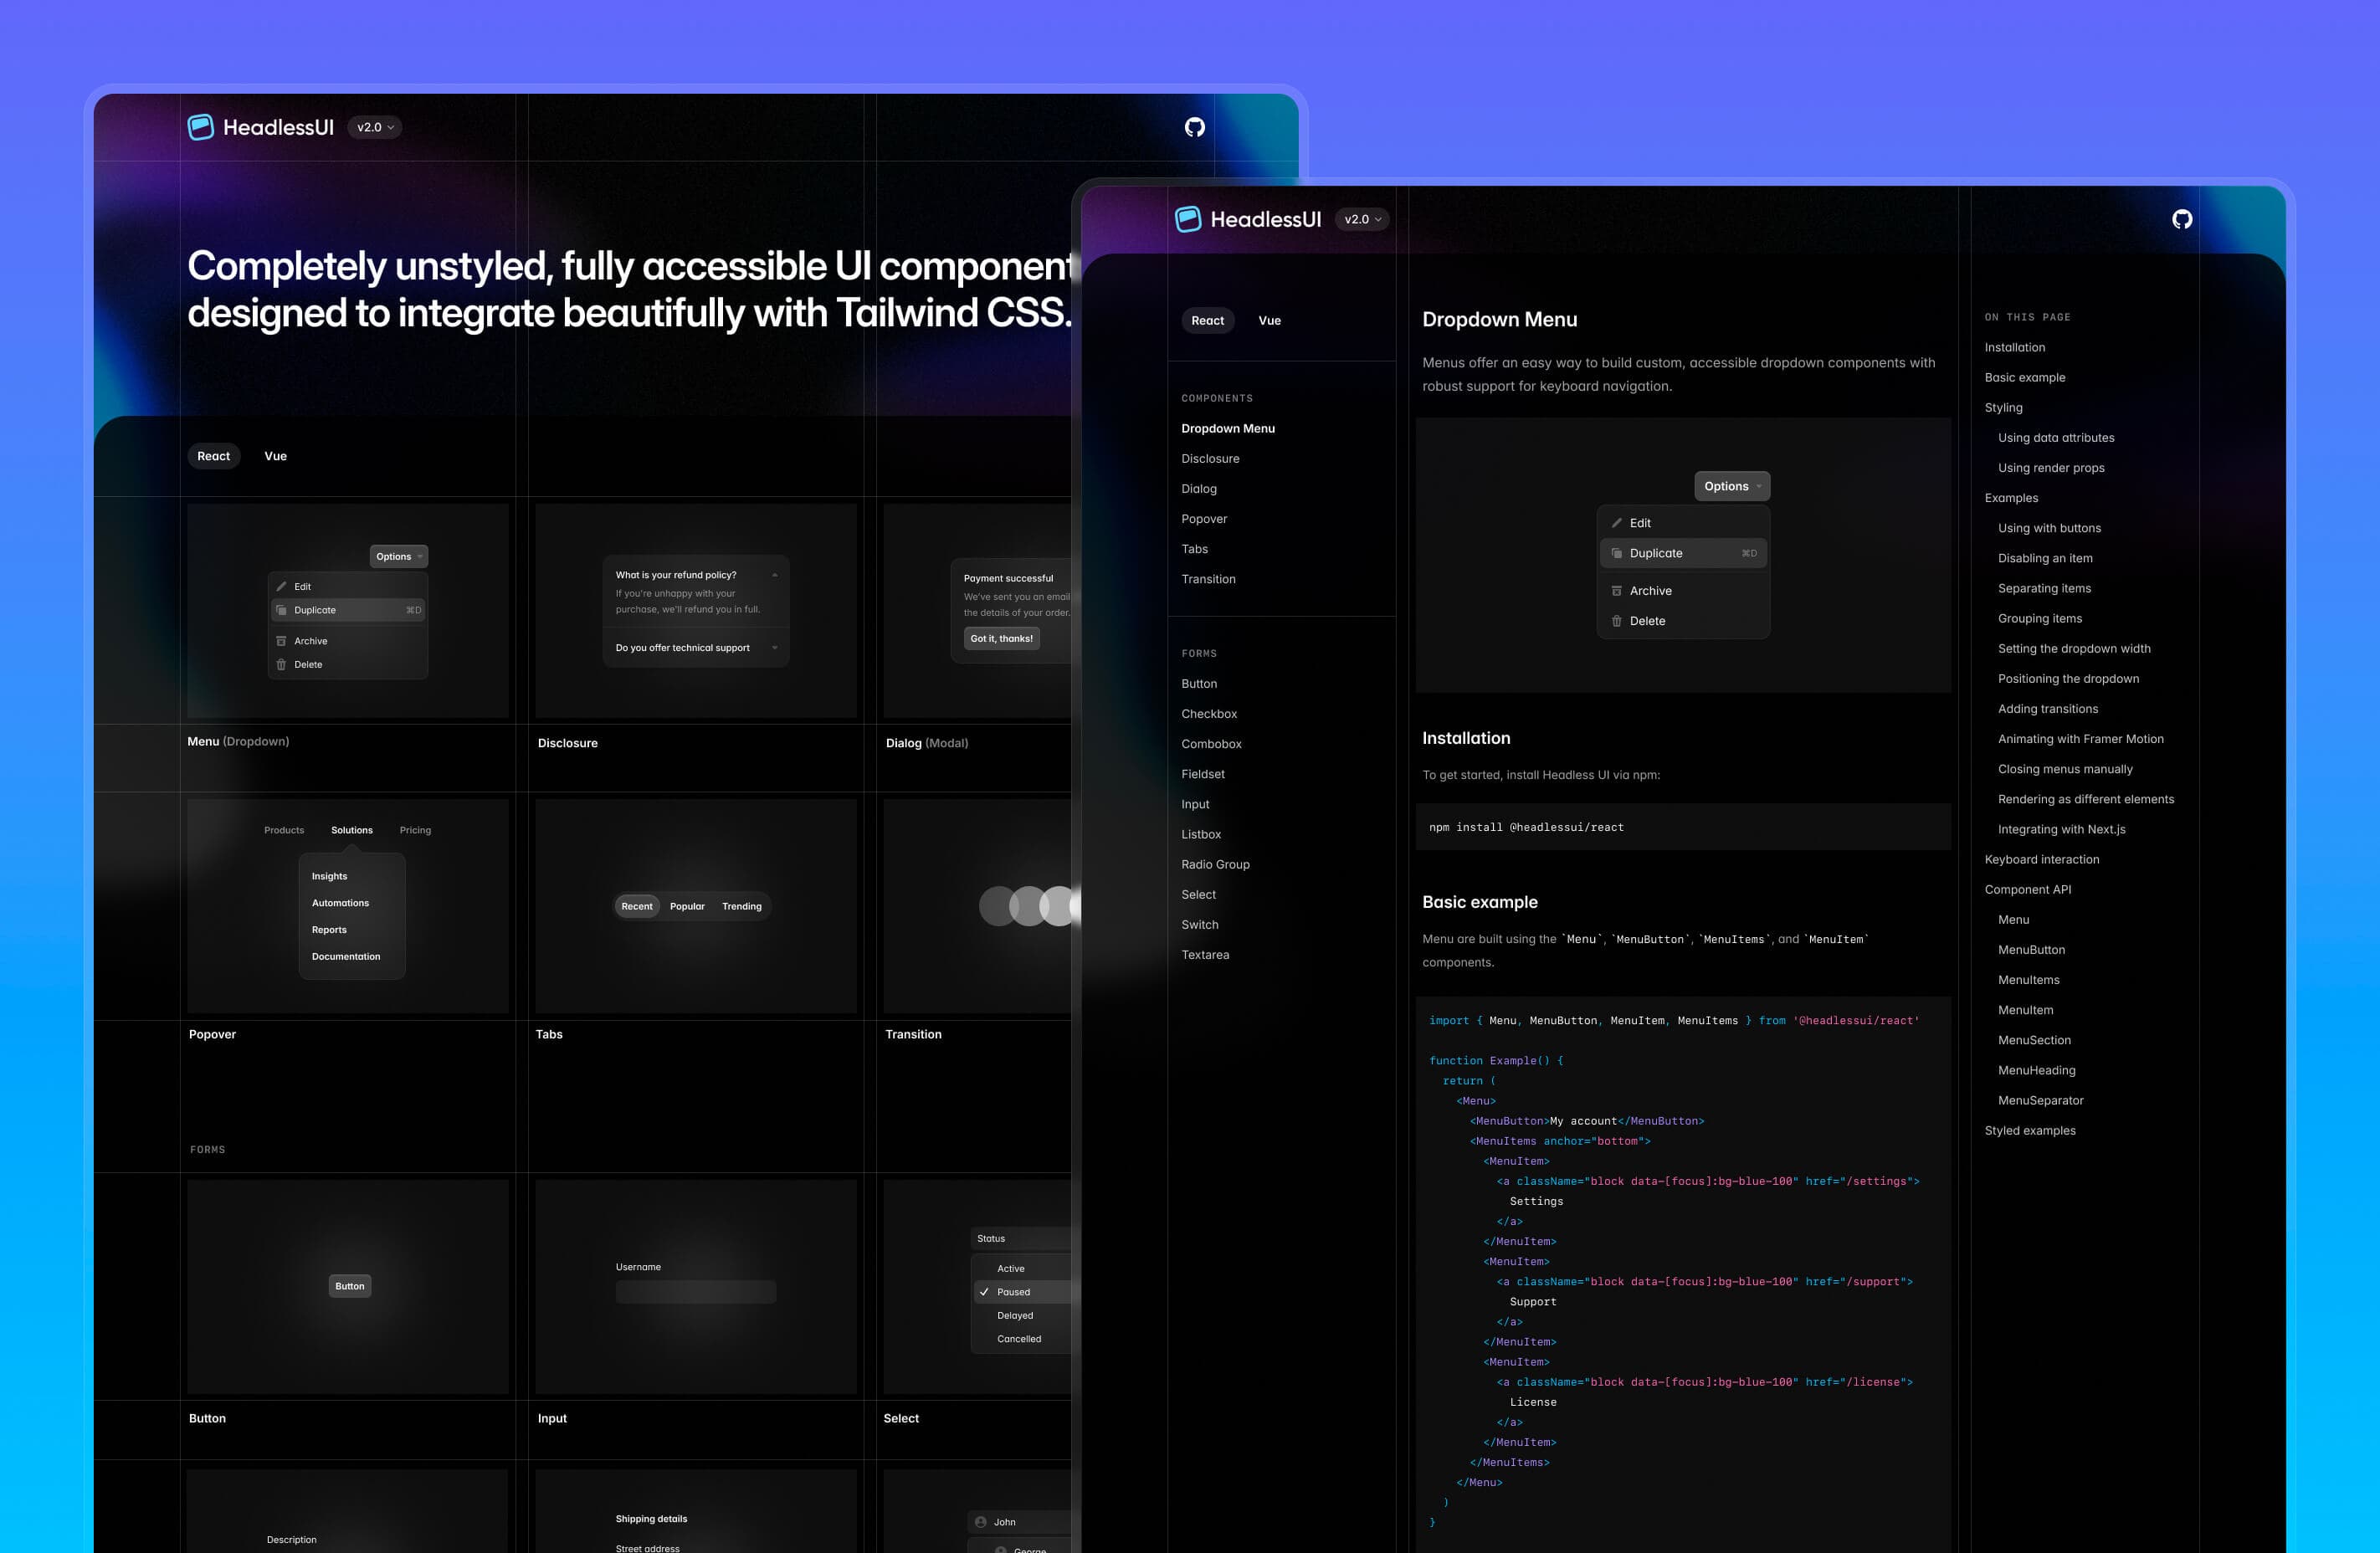
이번 주요 릴리스와 함께 문서를 대폭 개편하고 웹사이트도 새롭게 단장했습니다:

새로운 headlessui.com을 방문해 확인해 보세요!